

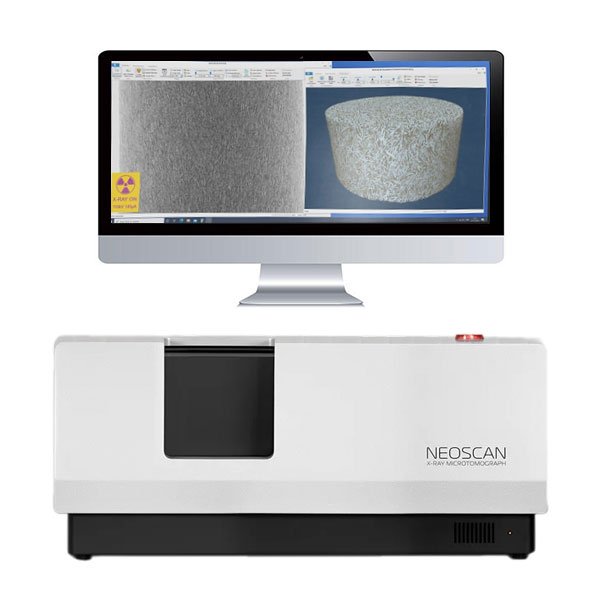
The preview looked fine. Six hours later, the reconstruction is soup: doubled edges, smeared internal structure, a specimen that apparently breathed. Nothing was wrong with the scanner. The insect pinned to its foam block dried out mid-scan and curled by a few hundred microns, which at the resolution you booked the instrument for is a catastrophe. Micro-CT is unforgiving this way. It records everything, including every decision made at the bench before the door closed. Almost all of those failures trace back to preparation, which is the one part you fully control.
Immobilization: the sample must not move for hours
A scan on a desktop micro-CT scanner is thousands of projections collected while the sample rotates, often over several hours. If the specimen shifts by even a fraction of a voxel between the first projection and the last, the projections disagree about where the edges are and the reconstruction blurs. There is no software rescue; the machine time is simply lost.
So mounting deserves more thought than it usually gets. The goal is rigid, not tight. Soft materials clamped hard will keep deforming slowly for hours after you let go, and that slow creep is exactly the motion that ruins long scans. Better approaches hold the sample gently in a low-density medium that barely shows up in X-rays: floral foam, polymer tubes, pipette tips, a bed of dental wax, or a wrap of thin film. Tape is tempting and treacherous. Adhesives relax, and a sample held only by tape can rotate a degree or two over an afternoon.
Whatever you choose, mount the sample along the rotation axis, keep the holder material out of the region you care about, and then leave the assembly alone for a while. A sample mounted thirty seconds before the scan starts is still settling. One mounted an hour earlier has had time to finish moving.
Size the sample to the field of view, not your ambitions
Resolution and sample size pull against each other. The detector has a fixed number of pixels, spread across whatever field of view you select. A smaller field of view means smaller voxels and finer detail, but the whole sample width needs to fit inside it, or truncation artifacts corrupt the grey values across the volume.
The practical consequence: if you care about micron-scale features, you cannot scan the whole femur or the whole battery. You scan the piece that matters. Cutting a specimen down feels wrong to people trained to preserve samples, but a well-chosen subsample at high resolution answers more questions than an intact specimen scanned too coarsely to see anything. Decide what the study needs to resolve, work out the voxel size that requires, and trim to the diameter that allows. Diameter is the constraint that bites first; height can often be handled with multiple stacked scans.
Contrast: materials mostly scan as-is, soft tissue does not
X-ray contrast comes from differences in attenuation, which depend on density and atomic composition. Metals, ceramics, bone, minerals, and most composites separate nicely without any help. Two polymers of similar density are harder, and soft biological tissue is the difficult case: muscle, brain, and connective tissue are all nearly water, and an unstained organ scans as a faint grey blob.
Life-science work therefore usually means staining. Iodine-based protocols are the workhorse because iodine penetrates tissue reasonably quickly and binds differentially, turning invisible anatomy into clean contrast. Phosphotungstic acid is a common alternative with different affinities and slower penetration. Both take longer to reach the center of a large specimen, so incomplete staining shows up as a washed-out core. And both change the tissue: stains can shrink or stiffen a specimen, which matters when the study involves measurement rather than description. If dimensions are the point, run a pilot to see what the stain does to them.
Metal: plan around the artifacts before you scan
Dense metal in the field of view causes beam hardening and streaks, the bright and dark rays that radiate from screws, pins, wires, and electrodes and corrupt the grey values around them. The best fix is removal: if a fixation screw or mounting pin can come out before the scan, take it out.
When the metal is the point, or cannot be removed, you manage rather than eliminate. Physical filtration at the source hardens the beam and reduces the effect, higher tube energies penetrate the metal better, and orienting the part so the metal sits away from the region of interest limits the damage. Reconstruction software offers artifact corrections that improve the picture without fully restoring quantitative reliability, so treat segmentation right next to metal with suspicion however clean it looks.
Hydrated samples: seal them or accept the shrinkage
Fresh and fixed biological samples lose water under the warm, dry conditions inside a scanner, and drying is motion: the specimen shrinks, warps, and cracks over the hours of the scan. There are two honest strategies. Keep the sample wet, or dry it deliberately beforehand so it has nothing left to lose.
Keeping it wet usually means a sealed container: a closed tube with a damp wad of tissue creating a humid microclimate, a wrap of laboratory film, or full immersion in liquid, which stabilizes the sample at the cost of some contrast. Watch the details. Condensation dripping inside a container is movement, a loose sample floating in liquid is movement, and a slowly leaking seal is a slow-motion drying artifact. Deliberate drying avoids all this but changes the specimen permanently, so it suits studies where hydrated dimensions do not matter.
A pre-scan checklist worth keeping
Before committing instrument time, walk through the short list. Is the sample rigidly mounted, settled, and aligned near the rotation axis? Does its full width fit the field of view at the voxel size the question requires? Has contrast been confirmed with a quick preview, and staining given time to reach the core? Is metal removed, or its artifacts planned for? Will the hydration state survive the full scan duration? Five minutes on these questions costs nothing. Modern micro-CT systems will faithfully image whatever you put on the stage; preparation decides whether that image is data or an expensive rehearsal.